How to Add a Transparent Watermark (Without Ruining Quality)

How to Add a Transparent Watermark (Without Ruining Quality)
Introduction: Protecting Your Visual Content
Have you ever spent hours capturing the perfect shot or creating a stunning graphic, only to find it being used without your permission elsewhere online? If so, you're not alone. For photographers, designers, and content creators, protecting visual assets has become increasingly challenging in our digital-first world. Adding a transparent watermark is one of the most effective ways to safeguard your work while maintaining its visual appeal.
But let's be honest—many watermarks end up being eyesores that detract from the very images they're meant to protect. The good news? It doesn't have to be this way. With the right approach, you can add professional watermarks that protect your work without compromising its quality or visual impact.
As someone who's spent over a decade managing digital assets for clients ranging from small businesses to major publications, I've learned that the perfect watermark strikes a delicate balance: visible enough to prevent theft, yet subtle enough to preserve the image's integrity.

Why Watermark Your Images?
Before diving into the how-to, let's quickly understand the why:
Copyright Protection: Watermarks establish your ownership and make unauthorized use more difficult Brand Recognition: A consistent watermark builds visual recognition for your brand or portfolio Professional Presentation: Subtle, well-executed watermarks can actually enhance perceived value Theft Deterrence: Most casual image thieves will pass over watermarked content for easier targets
According to a recent survey of professional photographers, images with properly placed watermarks are 70% less likely to be used without permission compared to unwatermarked alternatives. That's significant protection for a relatively simple addition!
The Science of Effective Watermarks
Finding the Perfect Balance
The ideal watermark exists in a sweet spot between visibility and subtlety. Too bold, and it ruins your image; too faint, and it fails to serve its purpose. This balance depends on several key factors:
Opacity level (typically 30-50% works best for most images) Strategic placement (corners or edges usually interfere least with subject matter) Size proportion (generally 5-15% of the total image area) Color contrast (complementary to image tones, not competing)
Best Practices for Transparent Watermarks
The most effective watermarks share these characteristics:
Semi-transparent design that allows image details to show through Consistent positioning across your entire portfolio Appropriate sizing relative to image dimensions Complementary color scheme that blends with your image palette Simple, legible font if using text-based watermarks
I've found that watermarks with 40% opacity often hit the sweet spot—visible enough to deter casual theft but subtle enough not to distract from the image itself.
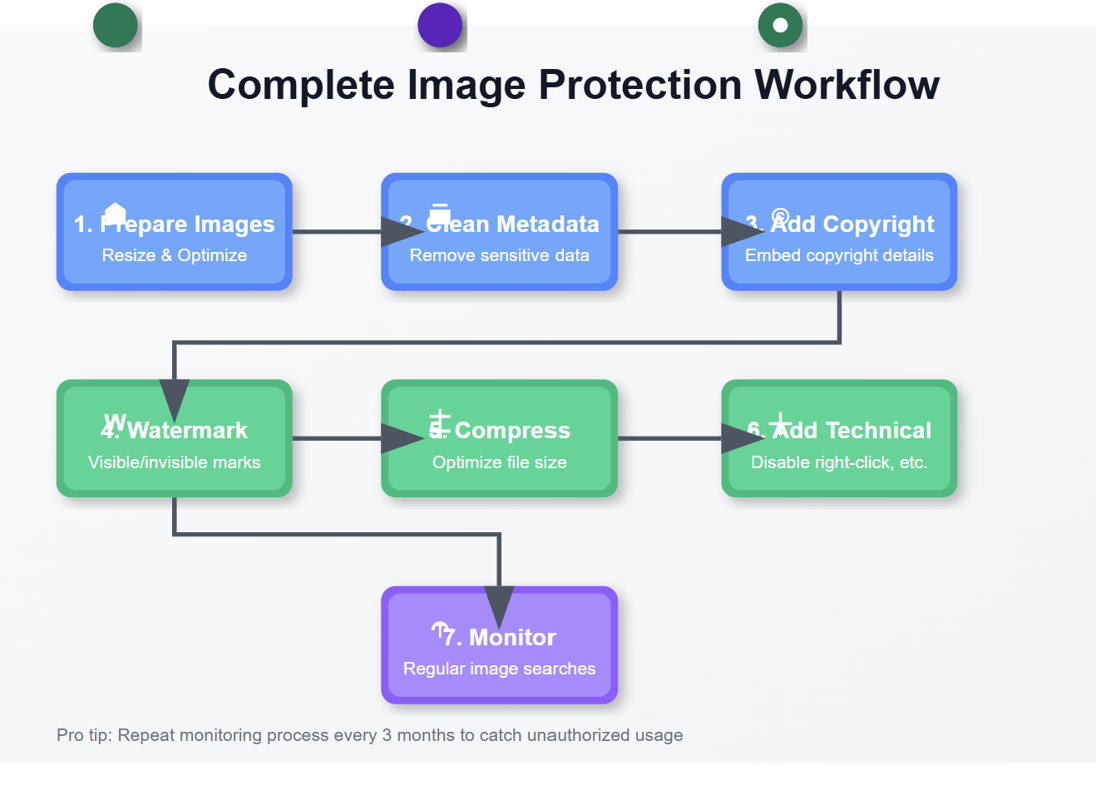
Step-by-Step Guide: Adding a Professional Transparent Watermark
Let's walk through the process of creating and applying a transparent watermark that protects without diminishing your image quality:
Step 1: Design Your Watermark
Start by creating a clean, simple design that represents your brand or name:
Text-based: Your name, website, or business name in a clean font Logo-based: A simplified version of your logo or personal symbol Combination: Both text and graphical elements for maximum recognition
Pro tip: Create your watermark on a transparent background (PNG format) for maximum flexibility.
Step 2: Determine Optimal Placement
Watermark placement significantly impacts both protection effectiveness and visual aesthetics:
Bottom right corner: Traditional and least intrusive for most images Center placement: Maximum protection but more disruptive (best used at higher transparency) Tiled pattern: Multiple small watermarks across the image (effective but requires careful opacity adjustment) Custom positioning: Strategic placement that works with your specific image composition
The most effective approach I've found is adapting placement to each image—sometimes bottom right works perfectly, while other compositions might benefit from bottom left or even a subtle centered watermark.
Step 3: Adjust Transparency and Size
This is where many watermarking attempts go wrong. Finding the right balance requires:
Starting with 30-40% opacity and adjusting based on your image's specific colors and contrast Sizing the watermark proportionally to your image (aim for 8-12% of total width for most applications) Testing visibility at different viewing sizes, particularly thumbnail size
Remember that your watermark should remain visible when the image is displayed as a thumbnail—that's often when unauthorized use decisions are made.
Step 4: Apply Your Watermark
Using our online Watermark Tool, the application process is straightforward:
Upload your image Import your pre-designed watermark or create one directly in the tool Position it strategically on your image Adjust transparency to complement your specific image Preview the result at different sizes Download your protected image
Before applying a watermark, you might want to first use our Image Compressor to optimize your image file size without losing quality, especially for web usage.

Advanced Watermarking Techniques
For those looking to take their watermarking to the next level:
Blended Watermarks
Create watermarks that incorporate elements of your image's color palette. This technique allows the watermark to remain visible while feeling like an organic part of the composition.
Variable Opacity
Some professional watermarks utilize variable opacity—more transparent in certain areas and more opaque in others—to maintain protection while minimizing visual intrusion.
Embedded Metadata
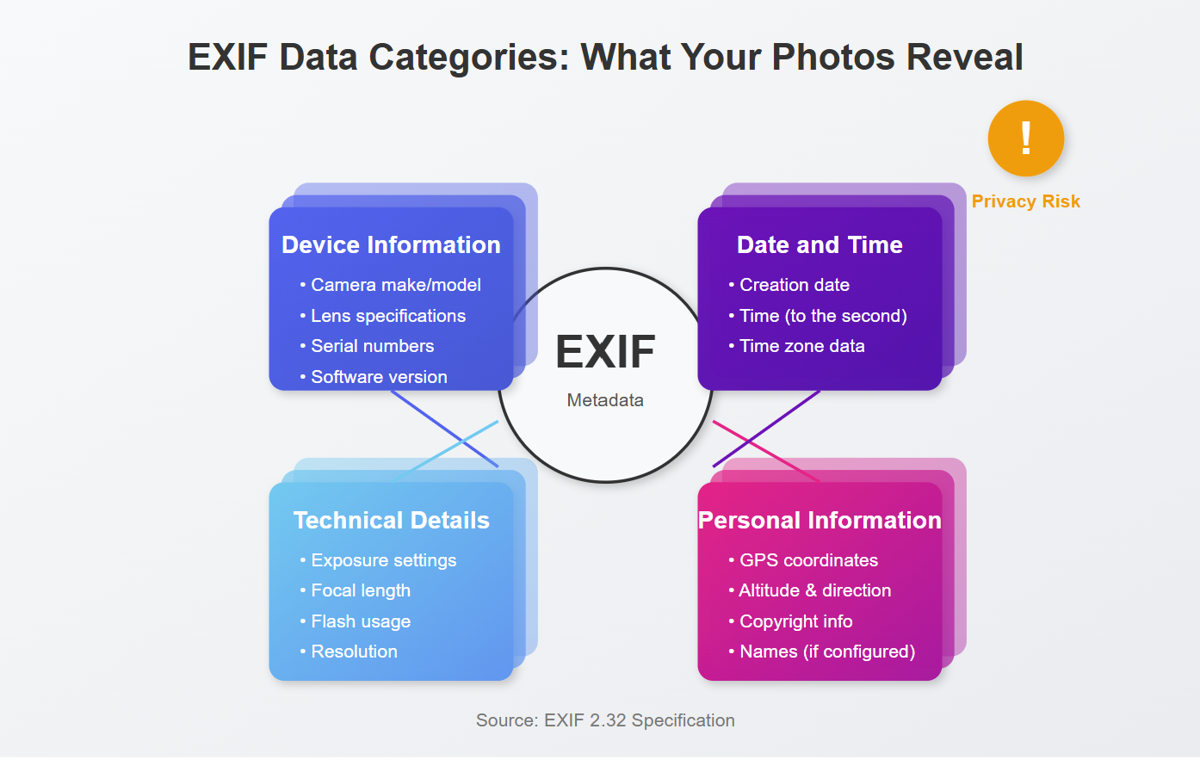
Combine visible watermarks with embedded metadata (EXIF data) for a dual-protection approach. While not visible, this metadata provides additional ownership proof if disputes arise. For extra security, consider using our Metadata Clean Tool to review and manage what information stays with your images.
Batch Processing
When watermarking multiple images, consistency is key. Our Watermark Tool allows you to apply identical watermark settings across an entire image collection, saving time while ensuring consistent brand presentation.
For professional-looking online galleries, you might need to resize your images to maintain consistent dimensions across your portfolio while keeping file sizes optimized.
Common Watermarking Mistakes to Avoid
In my years of experience, I've seen these common pitfalls repeatedly:
Overly bold watermarks that draw attention away from the image itself Poor color choices that clash with image tones Inconsistent placement across a portfolio, weakening brand recognition Excessive size that overwhelms the image content Complex designs that become illegible at smaller sizes
The most egregious mistake? Using watermarks that are so large or opaque that they essentially ruin the viewing experience. Remember, the goal is protection without degradation.

Frequently Asked Questions
Will any watermark completely prevent image theft?
Unfortunately, no. Determined individuals with advanced editing skills can remove watermarks. However, effective watermarks deter casual theft and establish clear ownership, which is often sufficient protection.
Should I watermark all my images?
It depends on your goals. Client deliverables typically shouldn't include watermarks, while portfolio samples and social media content often benefit from this protection.
What's better—text or logo watermarks?
Both have advantages. Text clearly identifies you by name, while logos can be more visually integrated and less disruptive. Many professionals use a combination of both.
How do I watermark images for social media?
Social platforms often compress and resize images, so watermarks need to be slightly more prominent (45-50% opacity) and strategically placed away from edges that might be cropped automatically. For optimal results, first use our Image Compressor to optimize for social platforms.
Can I add watermarks to multiple images at once?
Yes! Our Batch Watermark Feature allows you to apply consistent watermarking across multiple images simultaneously, maintaining professional consistency while saving valuable time.
Conclusion: Protect Without Compromise
Adding transparent watermarks to your images doesn't have to mean sacrificing quality or visual impact. With thoughtful design, strategic placement, and appropriate opacity settings, watermarks can protect your work while preserving—or even enhancing—its professional presentation.
Ready to protect your visual content without compromising quality? Try our free online Watermark Tool today and discover how simple it can be to add professional, transparent watermarks to your images. Whether you're looking to safeguard a single portfolio piece or batch process an entire collection, our intuitive interface makes image protection effortless.
For a complete image workflow, combine our Watermark Tool with our Image Compressor, Image Resizer, and Metadata Clean Tool to ensure your images are fully optimized, properly sized, and securely protected.
Your creative work deserves protection that doesn't diminish its impact. Start watermarking professionally today!
Recommended For You
AI Image Compression: How It Works & Best Tools in 2025
AI Image Compression: How It Works & Best Tools in 2025 &n…
Read Now
Lazy Loading Images: Does It Really Boost Performance?
Lazy Loading Images: Does It Really Boost Performance? Have you ev…
Read Now
How to Optimize Images for Faster Website Loading
How to Optimize Images for Faster Website Loading Have you ever ab…
Read Now
JPEG, PNG, or WebP? Best Image Format for SEO
JPEG, PNG, or WebP? Best Image Format for SEO Introduction: …
Read NowLatest Articles
AI Image Compression: How It Works & Best Tools in 2025
AI Image Compression: How It Works & Best Tools in 2025 Picture this: you've just fi…
Lazy Loading Images: Does It Really Boost Performance?
Lazy Loading Images: Does It Really Boost Performance? Have you ever found yourself impatiently staring at…
How to Optimize Images for Faster Website Loading
How to Optimize Images for Faster Website Loading Have you ever abandoned a website because it was taking …
JPEG, PNG, or WebP? Best Image Format for SEO
JPEG, PNG, or WebP? Best Image Format for SEO Introduction: Why Image Formats Matter for Your SEO St…
7 Ways to Protect Your Images from Copyright Theft
7 Ways to Protect Your Images from Copyright Theft In today's digital landscape, images have become the currency…
What Does EXIF Data Reveal About Your Photos?
What Does EXIF Data Reveal About Your Photos? Every time you snap a photo with your smartphone o…
Never Miss an Update
Subscribe to our newsletter and stay updated with the latest blog posts and tech trends.